How to Change Your Air Filter (And Which Direction It Goes)
Learning how to change air filter in your HVAC system is the simplest home maintenance task you can do, yet it’s the one most homeowners forget. A dirty filter forces your system to work harder, reduces cooling and heating efficiency, and can lead to expensive repairs.
The good news: changing a filter takes less than five minutes and requires no tools. The challenge is remembering to do it regularly and knowing which direction the filter should face when you install it.
⚠️ Affiliate Disclosure:
Some of the tools mentioned here include affiliate links. If you click and buy, we may earn a small commission, at no extra cost to you. We only recommend gear we’d actually use ourselves.
Quick Answer
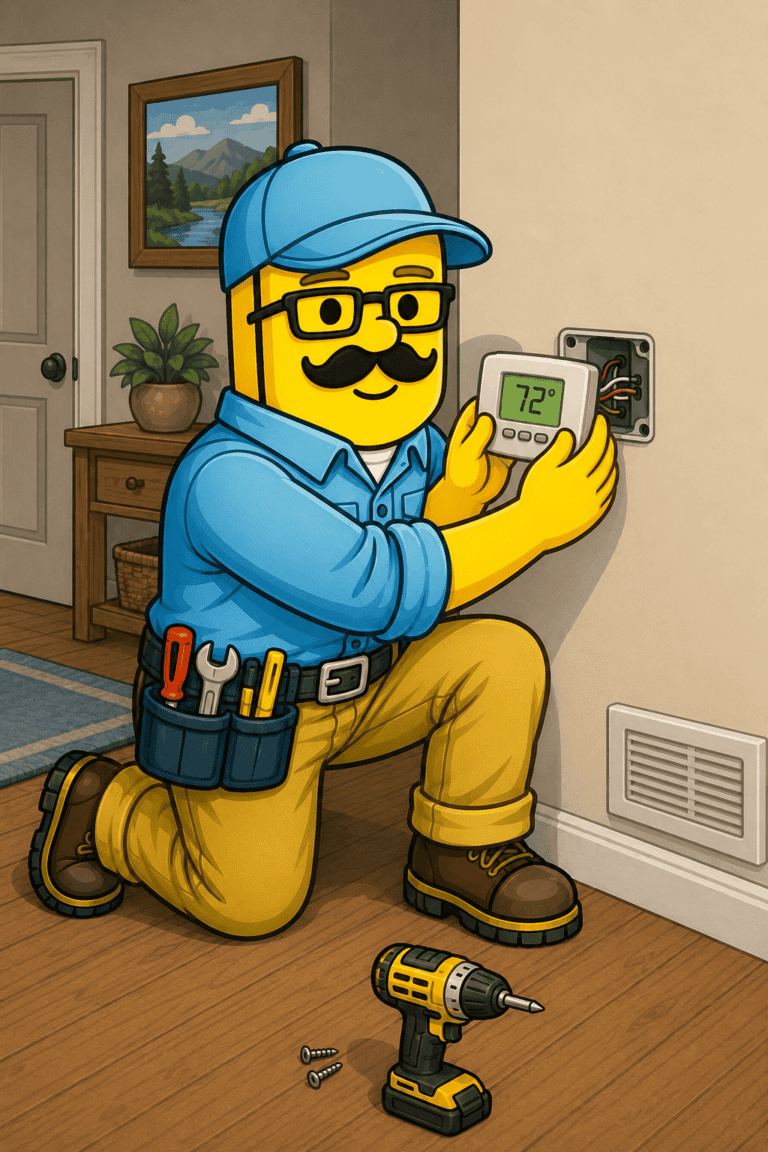
Your air filter is usually located in a return air vent (large vent on wall or ceiling), inside the air handler cabinet, or in a slot near your furnace. To change it, pull out the old filter and note the size printed on the frame. Install the new filter with the arrow on the frame pointing toward the air handler or furnace – the arrow shows airflow direction, which must point away from the room and toward your HVAC equipment. Change filters monthly during heavy use seasons, or every 1-3 months depending on filter type and household conditions.
Where Is Your Air Filter?
The location varies by home and HVAC system type. Here are the most common locations.
Return Air Vent
Most homes have one or more return air vents – large vents (often 20×25 inches or similar) on walls or ceilings that pull air back into the HVAC system. These vents are bigger than the small supply vents that blow air into rooms.
Open the return vent cover. In many homes, the filter sits right behind this cover in a slot. You’ll see the filter frame when you remove the vent cover.
Air Handler Cabinet
If your filter isn’t at a return vent, check your air handler cabinet (the indoor unit of your HVAC system). This is usually in a basement, utility closet, attic, or garage.
Look for a slot on the air handler where a filter slides in. There’s often a cover panel you remove to access the filter.
Furnace Slot
For homes with furnaces, the filter might be in a slot right next to or in front of the furnace blower. Look for a thin panel that slides out to reveal the filter.
New homeowner? Our First 30 Days in Your New Home guide ($5.99) includes a checklist to locate your air filter in the first week, along with other essential home systems to identify and document.
How to Change Your Air Filter
The process is straightforward once you’ve located your filter.
Step 1: Turn Off Your HVAC System (Optional)
Turning off your system isn’t strictly necessary, but it prevents the system from running while the filter is out. This takes seconds and eliminates any possibility of unfiltered air being pulled through the system.
Step 2: Remove the Old Filter
Pull the old filter straight out of its slot. Note which direction it was facing – you’ll see an arrow printed on the frame indicating airflow direction.
Step 3: Check the Filter Size
The size is printed on the filter frame, usually along the edge. Common sizes are 20x25x1, 16x25x1, 20x20x1, and variations of these dimensions.
The numbers represent length x width x thickness in inches. Make sure your replacement filter matches these dimensions exactly.
Step 4: Note the Arrow Direction
Look at the arrow printed on the old filter frame. This arrow shows the direction air flows through the filter. It always points toward the air handler or furnace – away from the room and toward your HVAC equipment.
Take a mental note (or a photo) of which direction the arrow was pointing before you remove the old filter.
Step 5: Install the New Filter
Slide the new filter into the slot with the arrow pointing the same direction as the old filter – toward the air handler or furnace.
Make sure the filter sits flush in the slot with no gaps around the edges where unfiltered air could bypass the filter.
Step 6: Turn the System Back On
If you turned the system off, turn it back on. The system will now pull air through the clean filter.
Which Direction Does the Filter Go?
This is the most common question about filter changes, and getting it wrong reduces efficiency.
The Arrow Shows Airflow Direction
The arrow printed on the filter frame indicates the direction air flows through the filter. Air enters one side of the filter (the side the arrow points away from) and exits the other side (the side the arrow points toward).
Arrow Always Points Toward Air Handler/Furnace
Your HVAC system pulls air from your rooms through return vents, through the filter, and into the air handler or furnace. Therefore, the arrow on the filter must point toward the equipment – in the direction air is flowing.
If your filter is in a return vent on a wall, the arrow points into the wall toward your HVAC equipment. If the filter is in the air handler cabinet, the arrow points into the air handler.
Why Direction Matters
Filters are designed with the structure of the filter media oriented to catch particles as air flows through in one specific direction. Installing the filter backwards reduces filtration efficiency and can cause the filter to shed fibers into your system.
Some filters have a reinforcement mesh on one side. That mesh side faces away from the equipment (the side air enters). The arrow always points away from the mesh side.
If you’re unsure, remember: arrow points toward the equipment, away from the living space.
What Type of Filter to Buy
Not all filters are created equal. Understanding MERV ratings and filter types helps you choose the right one.
MERV Ratings Explained
MERV (Minimum Efficiency Reporting Value) rates how effectively a filter captures particles. Higher MERV numbers mean better filtration but also more airflow restriction.
MERV 8: Basic filtration, captures large particles like dust and pollen. Least airflow restriction. Good for homes without allergy concerns.
MERV 11: Better filtration, captures smaller particles including pet dander and some mold spores. Balanced filtration and airflow. Best choice for most homes.
MERV 13: High filtration, captures very small particles including bacteria and smoke. More airflow restriction. Good for allergy sufferers but verify your system can handle the restriction.
Most residential HVAC systems work best with MERV 8-11 filters. Higher ratings can restrict airflow too much and strain your system.
Recommended Filters by Size
Here are quality filters for the most common sizes:
20x25x1 filters:
- Filtrete MPR 1000 MERV 11 (6-pack) – $55.83
- Nordic Pure MERV 8 (6-pack) – $55.49
16x25x1 filters:
- Filtrete MPR 1000 MERV 11 (6-pack) – $65.99
- AIRx MERV 8 (6-pack) – $49.99
20x20x1 filters:
- Filtrete MPR 1000 MERV 11 (6-pack) – $65.99
- Nordic Pure MERV 12 (6-pack) – $52.99
Multi-Packs Save Money
Buying filters in 6-pack or 12-pack quantities costs less per filter than buying individually. You’ll use them eventually, and having extras on hand means you’ll actually change filters on schedule instead of delaying because you need to buy more.
Many filters are also available through Amazon Subscribe & Save for additional savings and automatic delivery.
How Often to Change Your Air Filter
Change frequency depends on filter type and your household conditions.
Standard Recommendation
1-inch pleated filters (MERV 8-11): Change monthly during heavy use seasons (summer cooling, winter heating). You can extend to every 2 months during mild weather when the system runs less.
High-efficiency filters (MERV 13+): Check monthly, change when visibly dirty or every 1-3 months.
Cheap fiberglass filters: Change monthly. These provide minimal filtration and clog quickly.
Change More Often If You Have:
Pets: Pet hair and dander clog filters faster. Change monthly or even every 2-3 weeks during shedding seasons.
Allergies: More frequent changes mean better air quality. Monthly changes minimum.
Construction or remodeling: Sawdust and construction debris clog filters rapidly. Change every 2 weeks during active projects.
High system use: If you run your AC or furnace constantly, filters clog faster.
Set Reminders
The biggest reason people don’t change filters is they forget. Set a recurring reminder on your phone or calendar for the first day of each month. Make it a routine like paying bills or taking out trash.
Keep spare filters stocked so you can change them immediately when the reminder hits rather than adding “buy filters” to your to-do list and delaying the actual change.
Track Your Filter Changes
Documenting when you change filters helps you identify the right schedule for your home and ensures you don’t forget.
Our Homeowners Binder ($18.99) includes a dedicated HVAC maintenance log section with pre-formatted fields for filter change dates, filter size, and next change due date. It also includes sections for tracking professional service, warranty information, and equipment specifications – everything you need to manage your home’s HVAC system in one organized place.
Simple tracking prevents the common scenario where you can’t remember when you last changed the filter and you’re not sure if it’s been one month or three.
Signs Your Filter Needs Changing
Between scheduled changes, watch for these indicators that your filter is clogged:
You can’t see through it: Hold the filter up to light. If light doesn’t pass through, the filter is clogged even if it doesn’t look visibly dirty.
Reduced airflow from vents: If air coming from supply vents feels weaker than normal, check the filter.
System runs longer: A clogged filter forces your HVAC system to run longer cycles to reach the thermostat setpoint.
Dust accumulation: If you notice more dust on surfaces than usual, your filter might not be capturing particles effectively.
Higher energy bills: Restricted airflow makes systems less efficient and increases energy costs.
When in doubt, change it. Filters are inexpensive compared to the cost of reduced efficiency or system damage from running with a severely clogged filter.
Final Thoughts From Stud Finder Studio
Changing your air filter is the highest-impact, lowest-effort maintenance task for your HVAC system. It takes five minutes, costs a few dollars, and prevents hundreds or thousands in potential repairs.
The key is making it routine. Set a recurring reminder. Buy filters in bulk. Keep extras on hand. Make the task so easy you have no excuse to skip it.
Most homeowners remember to change their oil every 3,000-5,000 miles. Your HVAC filter deserves the same attention – it’s protecting a system that cost tens of thousands of dollars to install and costs hundreds per month to operate.
Arrow points toward the equipment. Change monthly. Track your changes. That’s all you need to remember.
Related Articles You Might Find Helpful:
How to Install a GFCI Outlet (And When You Need One) – Electrical safety fundamentals
AC Not Blowing Cold Air? (Here’s How to Fix It) – Filter is the first thing to check
AC Unit Maintenance: Your Spring Checklist (Before Summer Heat Hits) – Comprehensive HVAC maintenance
Why Does My Breaker Keep Tripping? (And How to Fix It) – Home systems troubleshooting