AC Unit Maintenance: Your Spring Checklist (Before Summer Heat Hits)
Air conditioning maintenance isn’t exciting, but it prevents the nightmare scenario of your AC dying during a heat wave when every HVAC company is booked for two weeks. Spring maintenance – before you actually need the AC – keeps your system running efficiently and helps you avoid expensive mid-summer repairs.
The good news is most AC maintenance is straightforward. You don’t need specialized tools or HVAC training to clean your outdoor unit, change filters, and check basic components. The work you can do yourself takes a few hours once a year and significantly improves your AC’s performance.
Quick Answer
AC unit maintenance should be done in spring (April-May) before cooling season starts. Turn off power at the outdoor disconnect box and the breaker. Remove debris around the outdoor unit, clean the condenser fins with a garden hose (gentle pressure), straighten any bent fins with a fin comb, and ensure two feet of clearance around the unit. Inside, change the air filter monthly and check the condensate drain line isn’t clogged. Schedule annual professional service for refrigerant levels, electrical connections, and compressor function.
Why AC Maintenance Matters
Prevents Mid-Summer Breakdowns
AC units fail most often during heat waves when they’re working hardest. A unit that’s been sitting dormant all winter and hasn’t been maintained is more likely to develop problems when you suddenly demand maximum cooling for days on end.
Spring maintenance catches small issues before they become failures. A dirty condenser struggles to dissipate heat. Restricted airflow from clogged filters forces the compressor to work harder. Both scenarios lead to breakdowns during peak demand.
Improves Cooling Efficiency
A clean AC unit cools more effectively than a dirty one. Condenser fins covered in cottonwood, leaves, or dirt can’t transfer heat efficiently. The unit runs longer to achieve the same cooling, consuming more energy and creating more wear on components.
Dirty filters have the same effect. Restricted airflow means the evaporator coil can’t absorb heat properly. The system runs continuously without reaching the thermostat setpoint.
Reduces Energy Costs
An inefficient AC unit costs more to operate. When your system runs longer cycles or struggles to maintain temperature, your energy bills increase. Regular maintenance keeps the system operating at designed efficiency levels.
The energy savings from clean filters and clean condenser coils typically exceed the cost of the maintenance itself. You’re not just preventing failures – you’re reducing operating costs every day the AC runs.
Extends Unit Lifespan
AC units are expensive to replace. A well-maintained central air system lasts 15-20 years. A neglected system might fail after 10 years.
Maintenance reduces wear on expensive components like the compressor. Clean systems run shorter cycles, spend less time at maximum load, and experience less thermal stress. This translates directly to longer component life.
When to Do AC Maintenance
Spring: Before Cooling Season Starts
April or May is ideal for AC maintenance in most climates. You’re preparing the system before summer heat arrives, and HVAC companies aren’t yet overwhelmed with emergency repair calls.
Waiting until June when you first turn on the AC means discovering problems when you need cooling immediately. Finding out your AC doesn’t work when it’s 95 degrees outside puts you at the back of a long service queue.
After Major Storms
Check your outdoor unit after severe weather. High winds blow debris into the unit. Hail can damage fins. Flooding can deposit mud and dirt into the condenser.
A quick inspection and cleaning after storms prevents gradual performance degradation.
Monthly: Filter Changes
Air filters should be changed monthly during cooling season, or according to the manufacturer’s recommendation. Some high-efficiency filters last three months. Standard fiberglass filters should be changed monthly.
Mark your calendar or set a phone reminder. Forgetting filter changes is the most common maintenance mistake homeowners make.
Annually: Professional Service
Even if you handle basic maintenance yourself, annual professional service is recommended. HVAC technicians check refrigerant levels, test electrical connections, inspect the compressor, and catch developing problems you might miss.
Professional service complements DIY maintenance. You handle the routine cleaning and filter changes. Professionals handle the technical aspects that require gauges, meters, and certification.
AC Maintenance Checklist
Outdoor Unit:
- Turn off power at disconnect box and breaker
- Remove debris (leaves, grass clippings, cottonwood)
- Clean condenser fins
- Straighten bent fins
- Hose down unit (top and sides)
- Clear vegetation within 2 feet of unit
- Check unit is level
Indoor:
- Change air filter
- Check condensate drain line flows freely
- Clean return air vents and registers
- Verify thermostat operates correctly
- Inspect visible ductwork for leaks
Professional Service (Annual):
- Check refrigerant levels
- Test electrical connections
- Inspect compressor
- Clean evaporator coil
- Test capacitors and contactors
- Verify proper airflow
Document your maintenance schedule in your homeowners binder – date of filter changes, outdoor unit cleaning, and professional service. This helps track maintenance frequency and provides service history if issues arise. Check out our Homeowners Binder for an organized approach to home documentation.
How to Clean Your Outdoor AC Unit
This is the most impactful DIY maintenance you can do. A clean outdoor unit (the condenser) transfers heat efficiently. A dirty one doesn’t.
Safety First: Turn Off Power
Before touching your AC unit, turn off power at two locations:
Outdoor disconnect box: Near the outdoor unit, there’s usually a metal box with a pull-out disconnect or a flip lever. Pull the disconnect or flip it to off.
Circuit breaker: Go to your breaker panel and turn off the AC circuit. This provides a second layer of safety.
Use a voltage tester to confirm power is off if you’re opening any electrical panels on the unit.
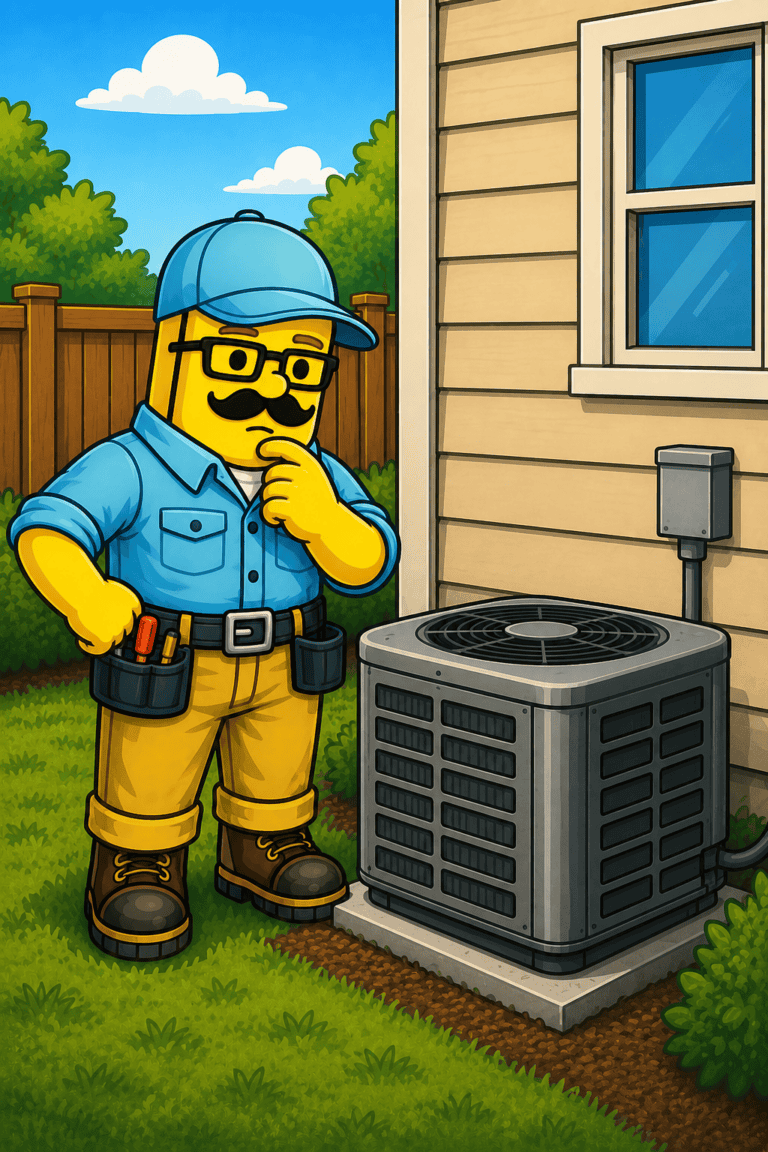
Remove Debris Around the Unit
Clear leaves, grass clippings, cottonwood, and any other debris from around the unit. Rake or sweep a two-foot radius around all sides.
If there’s vegetation growing close to the unit, cut it back. AC units need airflow. Shrubs, grass, or weeds crowding the unit restrict airflow and reduce efficiency.
Clean the Condenser Fins
The outdoor unit has aluminum fins covering the sides (and sometimes the top). These fins are delicate and bend easily, but they’re critical for heat transfer.
Use a garden hose with a spray nozzle to clean the fins from the inside out. Spray gently from inside the unit outward to push dirt and debris out of the fins rather than deeper into them.
Don’t use a pressure washer. The pressure bends fins and causes more damage than cleaning benefit. A regular garden hose with moderate pressure is sufficient.
Pay attention to the direction you’re spraying. You want to clean without bending the delicate aluminum fins.
Straighten Bent Fins
Bent fins restrict airflow. Even moderately bent fins reduce efficiency by 20-30%.
A fin comb (also called a fin straightener) has teeth that match fin spacing. Slide the comb gently down the fin column to straighten bent fins. Work slowly and carefully – forcing the comb damages fins rather than straightening them.
Fin combs cost $10-15 and are available at hardware stores. They come with multiple tooth spacings to match different fin configurations.
You don’t need perfect fins, but straightening obviously bent sections improves airflow noticeably.
Hose Down the Entire Unit
After cleaning the fins and straightening bent sections, give the entire unit a thorough rinse. Spray from top to bottom, inside and out.
Let the unit dry completely before turning power back on. An hour in the sun is usually sufficient.
Clear the Area
Maintain at least two feet of clearance around the entire unit. This includes overhead clearance if you have a top-discharge unit.
Trim any vegetation encroaching on this space. Move stored items, lawn equipment, or anything else crowding the unit.
Proper clearance ensures adequate airflow for heat dissipation.
Indoor Maintenance
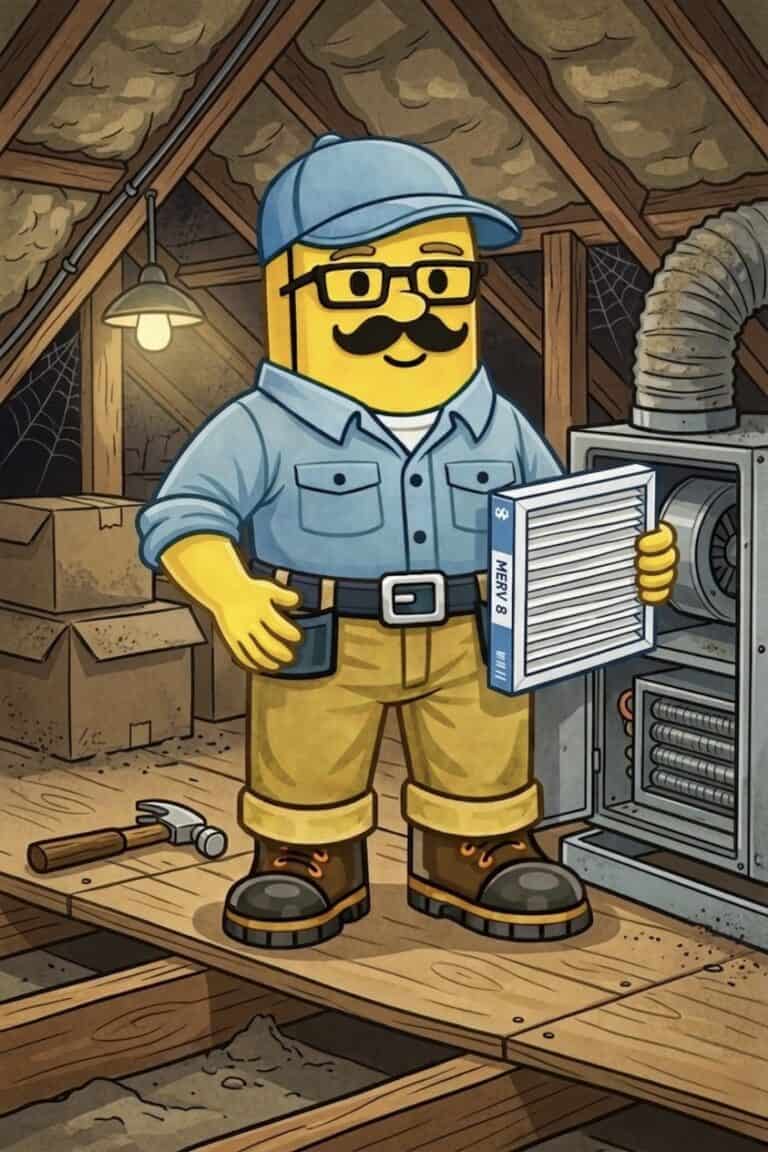
Change the Air Filter
The air filter location varies by system. Common locations include:
- Return air vent in a wall or ceiling
- Inside the air handler cabinet
- In a slot near the furnace/air handler
Check your system documentation or look for a large return air vent. The filter usually slides out of a slot.
Replace the filter with one matching the size printed on the old filter’s frame. Install it with the arrow pointing in the direction of airflow (usually toward the air handler).
Filters cost $10-30 depending on type and efficiency rating. Standard pleated filters offer good filtration at reasonable cost.
Check the Condensate Drain Line
Air conditioning creates condensation. The condensate drain line carries this water away from your air handler to a floor drain, outside, or a condensate pump.
If this line clogs, water backs up into the drain pan and can overflow into your home.
Locate the drain line – usually a PVC pipe coming from the air handler. Pour a cup of water down the line where it enters the air handler. If water flows freely, the line is clear.
If water backs up, the line is clogged. You can try clearing it with a wet/dry vacuum applied to the outdoor end of the drain line, or call an HVAC technician if the clog doesn’t clear easily.
Clean Return Vents
Return air vents get dusty. Vacuum them occasionally to remove dust buildup that restricts airflow.
Remove the vent covers and vacuum inside the ductwork as far as you can reach.
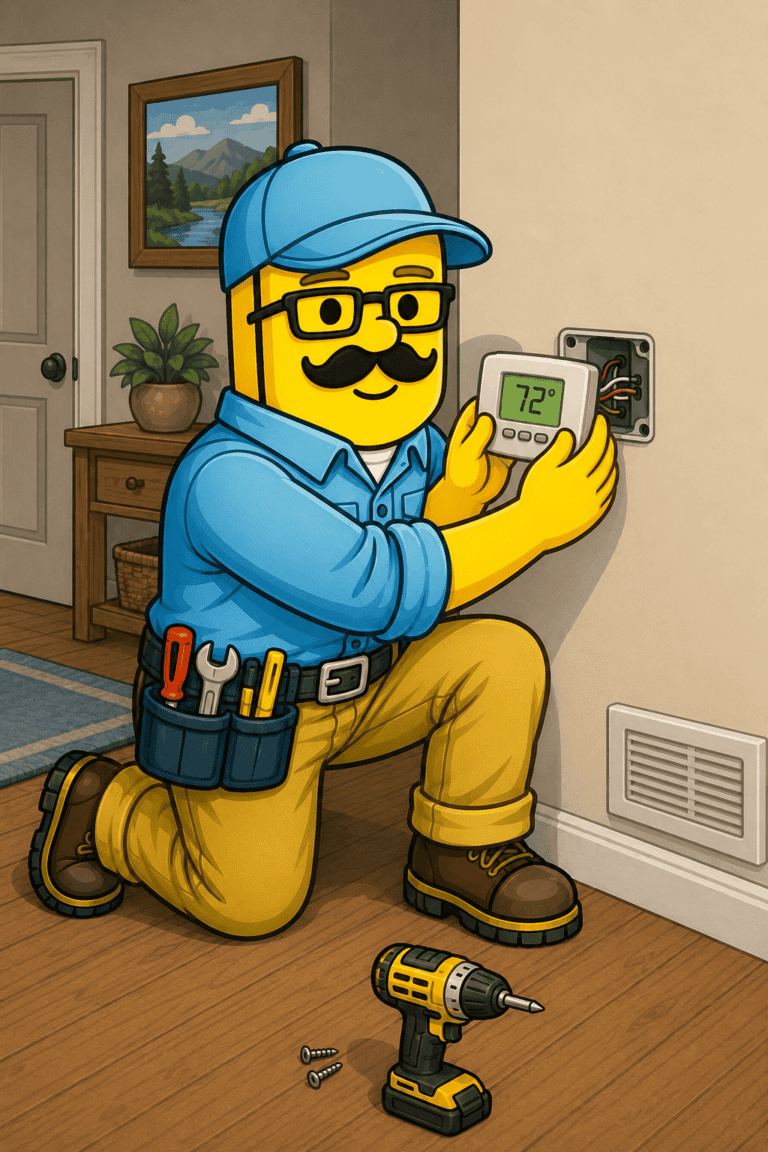
Verify Thermostat Function
Turn your thermostat to cooling mode and set it several degrees below current temperature. The AC should start within a few minutes.
If the thermostat isn’t responding or the AC doesn’t start, check the thermostat batteries (if battery-powered) and verify the circuit breaker is on.
Signs Your AC Needs Professional Service
Some AC problems require professional diagnosis and repair.
Not cooling properly: If your AC runs but doesn’t reach the thermostat setpoint, you might have low refrigerant, a failing compressor, or other issues requiring professional attention.
Strange noises: Grinding, squealing, or banging noises indicate mechanical problems. Don’t ignore unusual sounds – they usually mean something is failing.
High energy bills: If your energy bills spike without increased usage, your AC might be running inefficiently due to refrigerant loss, compressor problems, or other issues.
Frozen coils: If you see ice on the refrigerant lines or evaporator coil, turn off the AC and call for service. Frozen coils indicate airflow problems or refrigerant issues.
Won’t turn on: If the AC doesn’t start at all, check the breaker and thermostat first. If both are functioning, the problem requires professional diagnosis.
DIY vs Professional Maintenance
You can handle:
- Outdoor unit cleaning
- Filter changes
- Debris removal
- Drain line checks
- Basic visual inspections
Professionals should handle:
- Refrigerant testing and charging
- Electrical component testing
- Compressor inspection
- Evaporator coil cleaning (requires opening sealed air handler)
- Complex diagnostics
The line between DIY and professional work is clear: if it involves refrigerant, electrical testing, or opening sealed components, call a professional. If it’s cleaning, replacing filters, or basic inspection, you can handle it.
Annual professional service catches developing problems before they cause failures. The cost of a tune-up is far less than an emergency repair call during a heat wave.
Final Thoughts From Stud Finder Studio
AC maintenance isn’t complicated, but it’s easy to forget until you actually need cooling. By that point, you’re discovering problems when you need the system to work, not when you have time to address them calmly.
Spring maintenance – before summer heat – gives you time to handle problems on your schedule rather than as emergencies. The few hours you spend cleaning the outdoor unit, changing filters, and checking basic components prevents frustration and expense later.
Professional service complements your DIY efforts. You handle the routine cleaning that needs to happen regularly. Professionals handle the technical work that requires certification and specialized equipment. Together, this approach keeps your AC running reliably through summer heat.
Related Articles You Might Find Helpful:
How to Install a GFCI Outlet (And When You Need One) – Electrical safety fundamentals
Why Does My Breaker Keep Tripping? (And How to Fix It) – AC units can trip breakers
How to Replace a Light Switch (And Wire It Correctly) – Understanding electrical basics
Where Is My Main Water Shutoff Valve? (And Why You Should Find It Today) – Critical home systems knowledge