How to Mount a TV Without Regretting It Later
You’ve got the mount in one hand and a pencil in the other. The TV is still leaning safely where you left it, but you’re already at the wall measuring the height, shifting it up half an inch, stepping back, shifting it down again. Everything looks clean right now because nothing is committed yet.
And then you hit that quiet pause before drilling. Not because you don’t know how to use a drill, but because you know this is the kind of install that can look perfect today and feel slightly wrong a month from now.
⚠️ Affiliate Disclosure:
Some of the tools mentioned here include affiliate links. If you click and buy, we may earn a small commission, at no extra cost to you. We only recommend gear we’d actually use ourselves.
Why TVs Are Not “Just Another Wall Item”
A picture frame hangs flat and stays there. A TV doesn’t. Even a slim TV has depth, and the mount adds more. The moment the weight sits off the wall instead of against it, the forces stop being “just downward.” With anything that tilts or moves, that offset becomes a lever that repeatedly pulls outward on the fasteners.
It’s also not a one-time load. TVs get adjusted. Cables get nudged. The screen gets swiveled to kill glare. Those small movements aren’t dramatic, but they add up especially when the mount has any flex. That’s why TV installs don’t usually fail all at once. They loosen slowly.
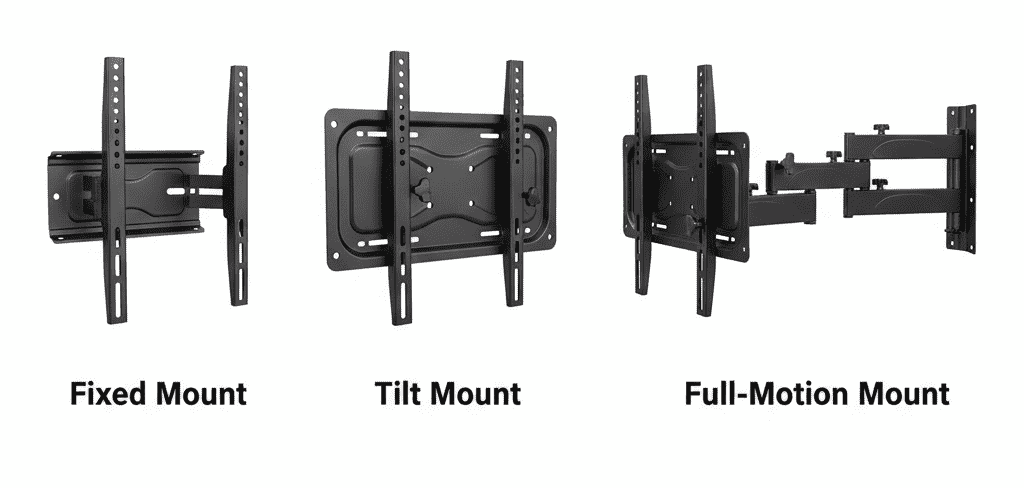
| Mount type | Stud required? | Why it changes the risk |
|---|---|---|
| Fixed mount | Yes | Heavy load needs solid framing support |
| Tilt mount | Yes | Added offset increases pull over time |
| Full-motion arm | Absolutely | Repeated outward force + movement multiplies stress |
Why Studs Matter More Here Than Anywhere Else
With a TV, you’re not just hanging weight, you’re asking the wall to resist a constant tendency to pull away. Studs matter because they give that force a path into the framing, where it belongs. Drywall isn’t framing. It’s a surface. It’s not meant to be the structural backstop for something that can shift, tilt, or get bumped.
If you want the “why” behind that without turning this into an anchor deep-dive, it helps to revisit understanding how walls actually work in How to Hang Anything on a Wall Without Ruining Drywall. The short version is simple: for a TV, the wall surface is not the plan. The framing is the plan.
What Slow Failure Looks Like
Most regrets don’t show up during install day. They show up later, when you stop paying attention to it.
- The TV develops a slight tilt that wasn’t there the first week
- You notice tiny shifts after swiveling or plugging in a cable
- Hairline cracks or a soft “crunch” feeling forms around a fastener point
- The mount starts to flex when it should feel locked-in
If any of that starts happening, it usually means something is moving that shouldn’t be.
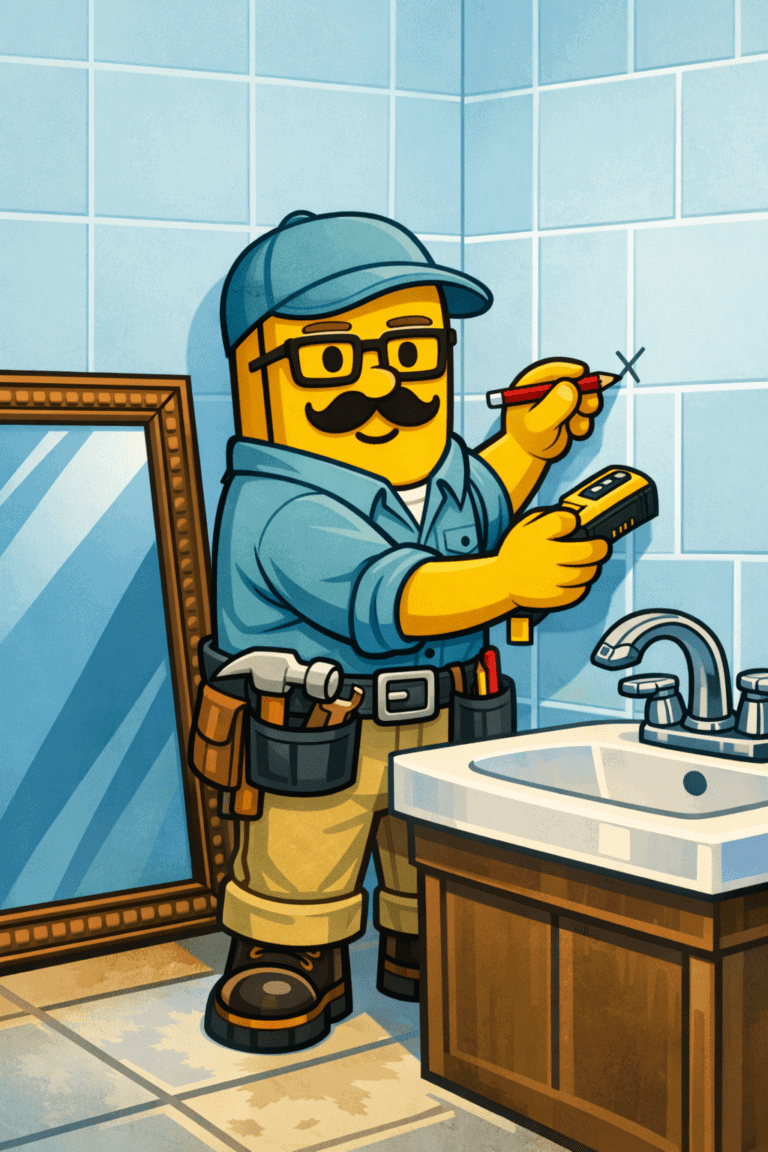
Finding and Confirming Studs Properly
A stud finder helps, but the real win is confirming what it’s telling you before you commit to holes that have to hold long-term. Use the tool to locate likely stud edges, then verify with a small test hole in a hidden spot (behind where the TV will sit) or by confirming spacing that makes sense for typical framing. The goal isn’t “beep = drill.” The goal is confidence.
If you haven’t used one in a while, or you’ve only used one during easy installs, refreshing using a stud finder correctly in Understanding This Surprisingly Useful Tool, The Stud Finder can save you from the most common mistake: trusting a single reading and assuming it’s framing.
When Studs Don’t Line Up With Your Ideal Placement
This is where people get stubborn: the TV looks best centered on the wall, but the studs aren’t cooperating. The calm answer is to solve the structure first, then adjust the placement inside what the structure allows.
Sometimes the fix is small, shifting the TV an inch or two so your lag bolts land perfectly. Sometimes the right move is choosing a mount with wider wall plate coverage or more lateral adjustment so you can catch studs while still centering the screen. And sometimes you need a deliberate support solution (like a properly installed backing board) because the wall layout and the ideal viewing position simply don’t match.
If you’re trying to decide what’s reasonable and what’s wishful thinking, Studs vs Drywall Anchors is the clean reference for when each one actually makes sense, without turning your TV install into an anchor experiment.
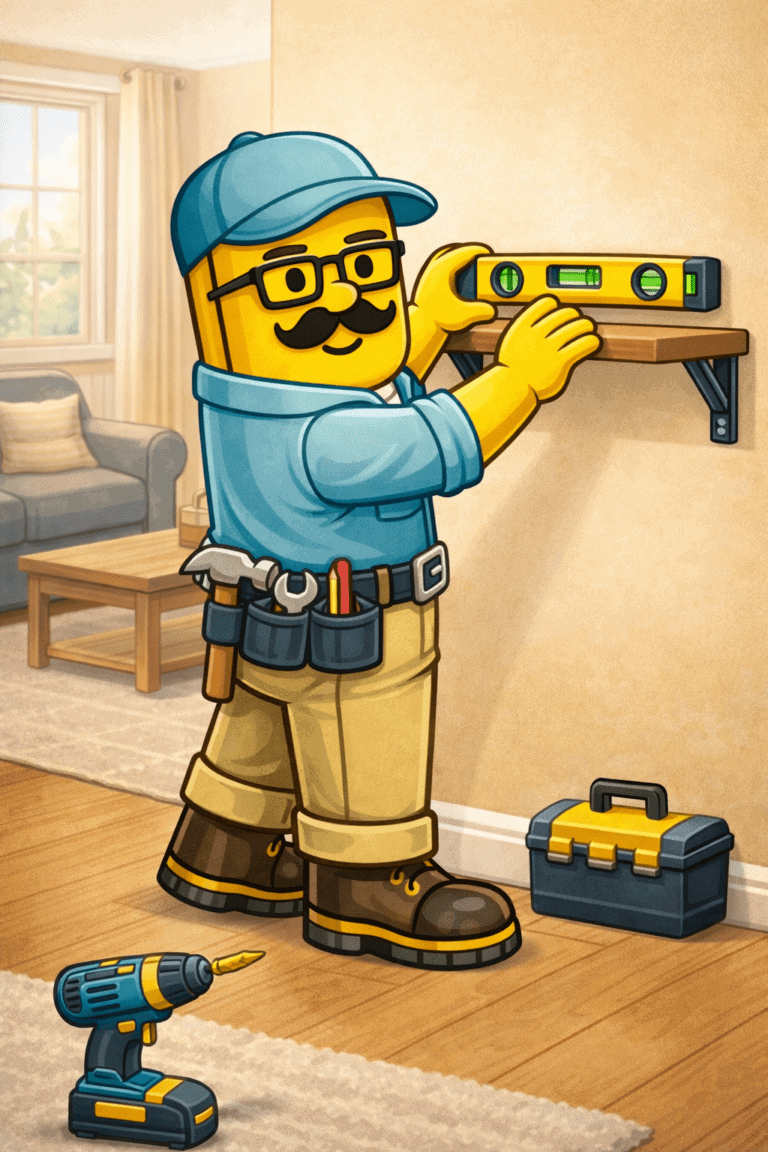
Tools You Actually Need
You’ll typically need:
- Stud finder (if you don’t already own one, a mid-range model that reads consistently is worth it, something like the Franklin Sensors style has been reliably straightforward for a lot of DIYers)
- Drill/driver
- Level (a small torpedo level is enough; if you’re buying one, a basic magnetic version is convenient)
- Socket wrench or ratchet (for lag bolts)
- Tape measure
- Pencil
Final Thoughts From Stud Finder Studio
A TV mount is one of those projects where “good enough” can look identical to “done right” on day one. The difference shows up later, after a few adjustments, a few cable changes, a few months of normal living. If you plan the install around studs, confirm what you’re drilling into, and choose a mount that works with the framing you actually have, you’re not just hanging a screen.
You’re making a decision you won’t have to revisit, because you treated the wall like structure first, not décor.